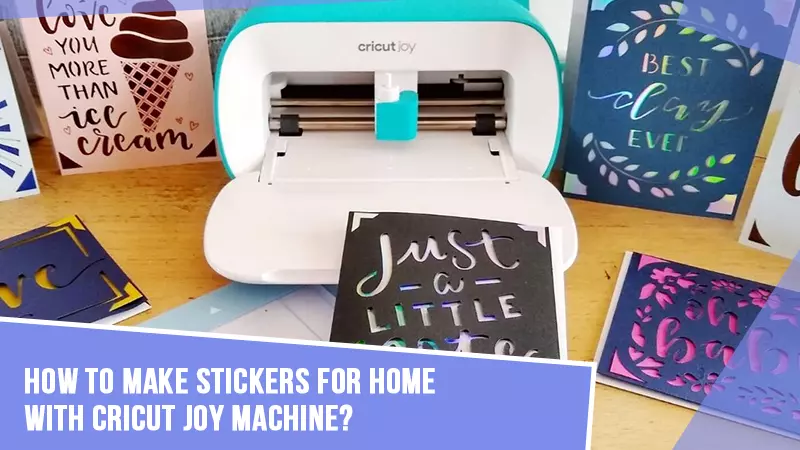
How to Make a Stencil With Cricut Joy? [Step-by-Step Guide
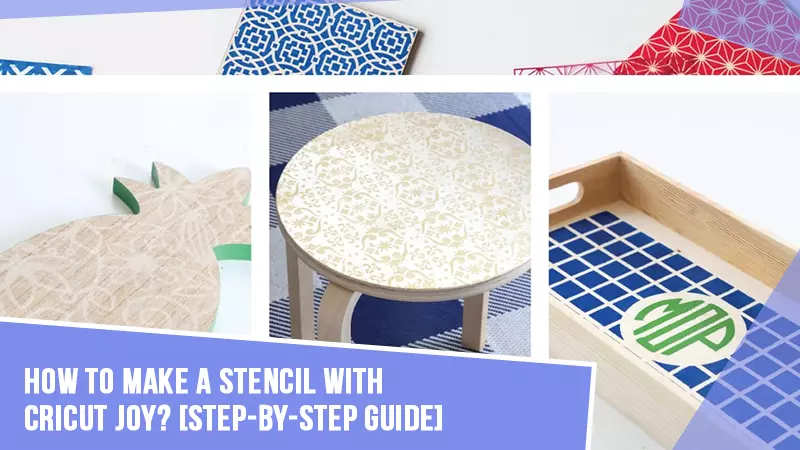
Everyone will be amazed when referring to how to make a stencil with Cricut Joy. With the assistance of this electronic cutting machine, the user will be able to make this DIY craft within no time. Stencil is a thin sheet of material, usually available in plastic, vinyl, or paper, with a design to cut out of it. Stencils are versatile and available in different types for users. Apart from that, the final design helps in enhancing the surroundings. In this post, we’ve attempted to explain the process with the Joy model in a simple manner.
Step 1: Create a Design
- Initiate the process by getting signed in to the Design Space account.
- Afterward, tick the New Project, and the blank Canvas will get open.
- Now, tap the Shapes tool and choose a shape for the base material.

- Next, you can change the measurements along with colors (if needed).
- Following this, tick the Images box and finalize an image from the library.
- After choosing the image, select the Text icon and start typing the text.
- You will notice that the shape, image & text is available on the same Canvas.
- Furthermore, ungroup the letters to move them and place them in the correct place.
- Next, you need to align the word by choosing the area from the Align Dropbox.
- Following this, you will get the final aligned text on your canvas.
- Now, select the text and tick the Weld button to make them in one layer.
- After welding down the text, move it inside the stencil and resize the text.
- Next, you need to slice down the design by ticking the Slice box.
- At this point, you will get the final stencil along with extra ones.

- However, delete the extra stencil to avoid any mistakes in the next steps and click Make It.
Step 2: Load the Material
- Following this, after getting connected to the new Canvas page, select the Material Loading option.
- Then, tick the Done button and set the base material as per your preference.

- After doing this, you can go ahead by loading the material into the Cricut Joy machine.
- Next, use the paper trimmer to cut down the material into the exact measurement and place it on the cutting mat.

- Take a step forward by loading the mat inside the Joy machine for the cutting & printing process.
- Afterward, unload the material out of Cricut and separate the material from the Cricut cutting mat.
Step 3: Weed Out Your Design
- At this point, take out your weeder and start weeding out the stencil’s letters one by one.
- Now, cut down the transfer tape and place it on the stencil covering the whole area.
- Next, take a scraper tool and spread it across the stencil to come in contact with the transfer tape.

- At this time, gently remove the carrier sheet and line the stencil on the respective base.
- Next, remove the transfer tape and use a brayer tool to avoid any bubbles on the stencil.

Step 4: Color the Design
- Begin this stage by opening the paint box and dipping the paintbrush inside it.
- Start coloring the letter ensuring that it doesn’t get spread to another one.

- After all the letters will get colors, slowly peel off the stencil without ruining the paint.
- Also, you can use a Cricut weeder to remove the small pieces from the cutout.
- At last, you will get to see the final custom stencil prepared by your Joy machine.

In conclusion, with this part of the post, all the DIYers must have understood the steps needed when coming across how to make a stencil with Cricut Joy.
FAQs
Answer: Cricut Joy Smart Stencil film is durable and
removes all residue. Moreover, it has adhesive backing for easy application and
works with numerous paint applications. This Joy smart stencil is versatile for
both curved and flat surfaces. Besides, a single stencil can cut up to 4 ft
(1.2 m) and is compatible with the Cricut Joy cutting machine. Lastly, Cricut
Joy smart stencil works without the cutting mat.
Answer: Actually, it depends upon the type of project you are going to create out of the Cricut Joy. In case your design has any non-connected, floating elements, then you need to use transfer tape. Some of the tips that the user needs to consider while using the tape include:
- Try to peel off the transfer tape out of the cutout
at a 45-degree angle.
- Use the scraper tool to settle the transfer tape
with the stencil to avoid any bubbles on the design surface.
Answer: Every crafter must buy certain supplies while creating personalized stencils out of a Joy cutting machine. With the help of those supplies, the work gets completed within half time, and the user gets wished for the stencil. The names of the supplies are available below:
- Cricut Joy machine
- Cutting Mat
- Cutout
- Design Space App
- Material
- Brayer Tool
- Scraper Tool
- Transfer Tape
- Weeder